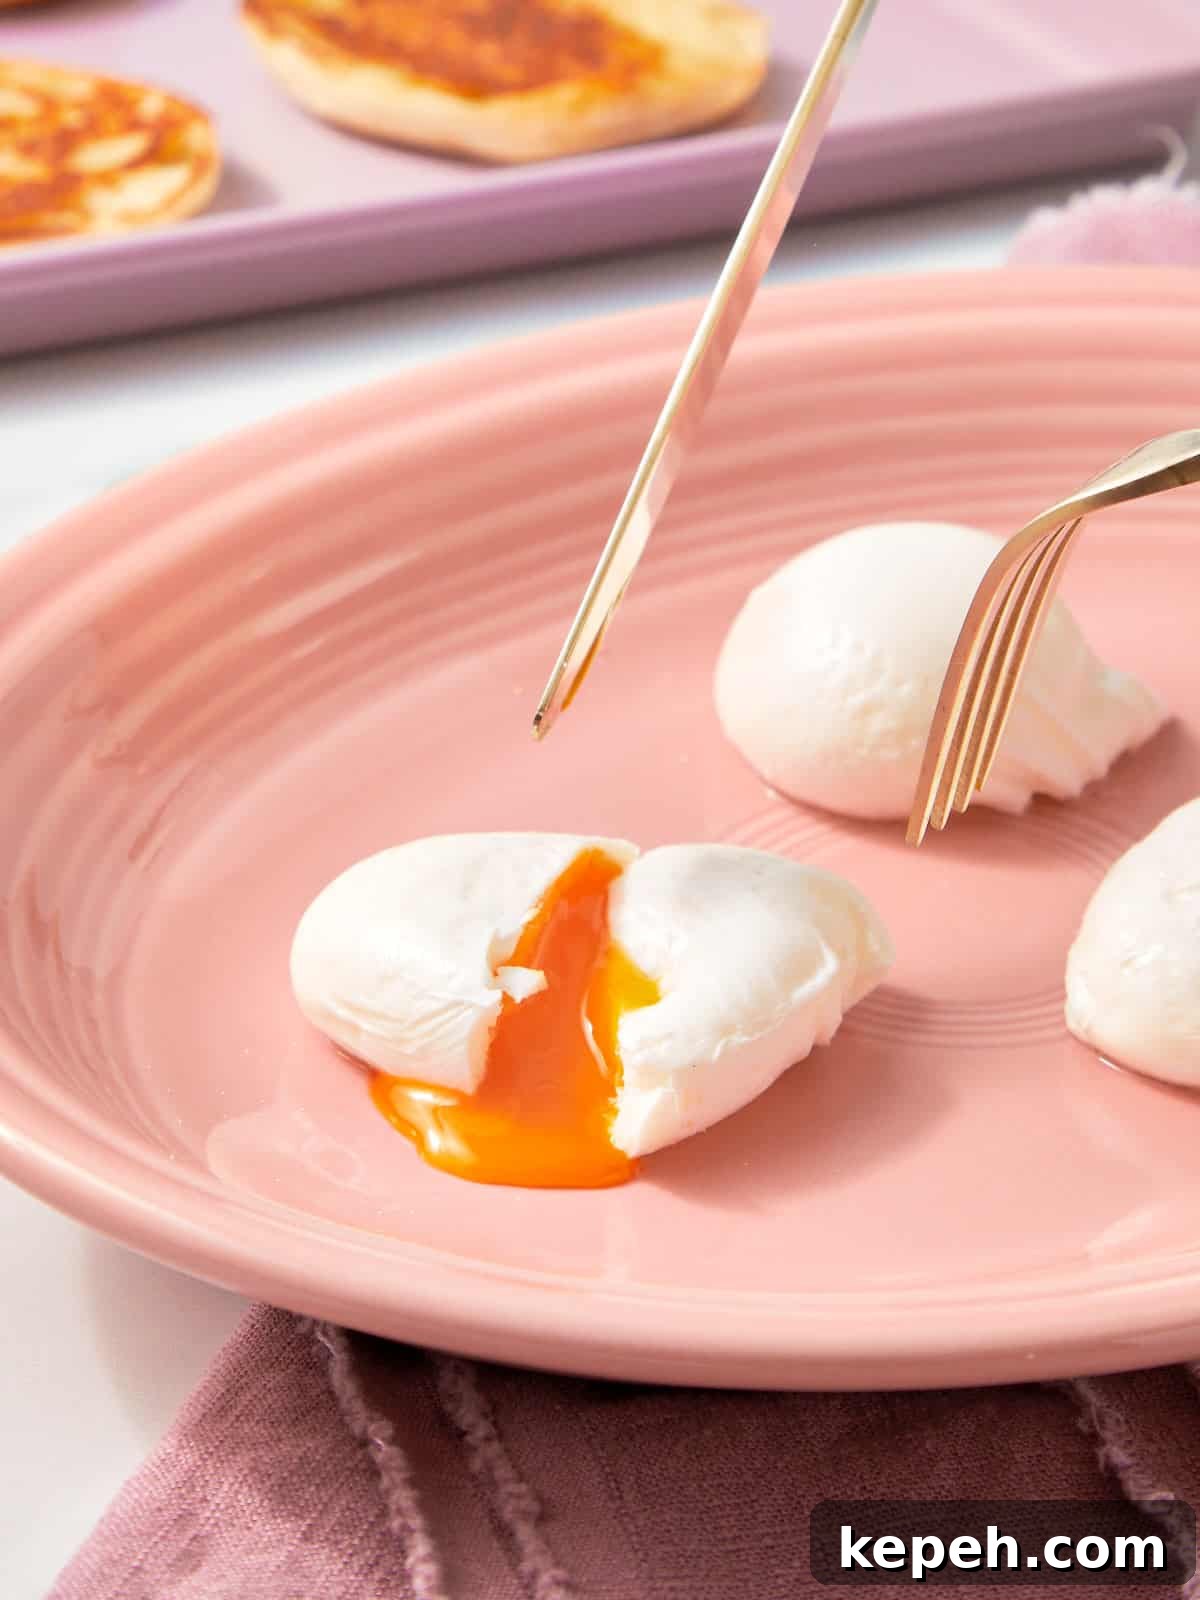
After years of testing, failing and refining, I finally landed on two reliable ways to make perfect poached eggs every time.
I still remember my first attempt: whites spreading everywhere, yolks overcooked, and me standing over the pot wondering how anyone called this easy.
This article explains how to poach an egg on the stove, how long to cook it depending on how you like your yolk, and how to make poached eggs in the air fryer if you prefer a hands-off approach.
Once you understand timing and a couple of small details, poaching eggs loses its intimidation factor and becomes an easy part of your routine. Poached eggs create those soft, runny yolks used in dishes like traditional Turkish eggs with yogurt and chili butter, where the technique truly shines.
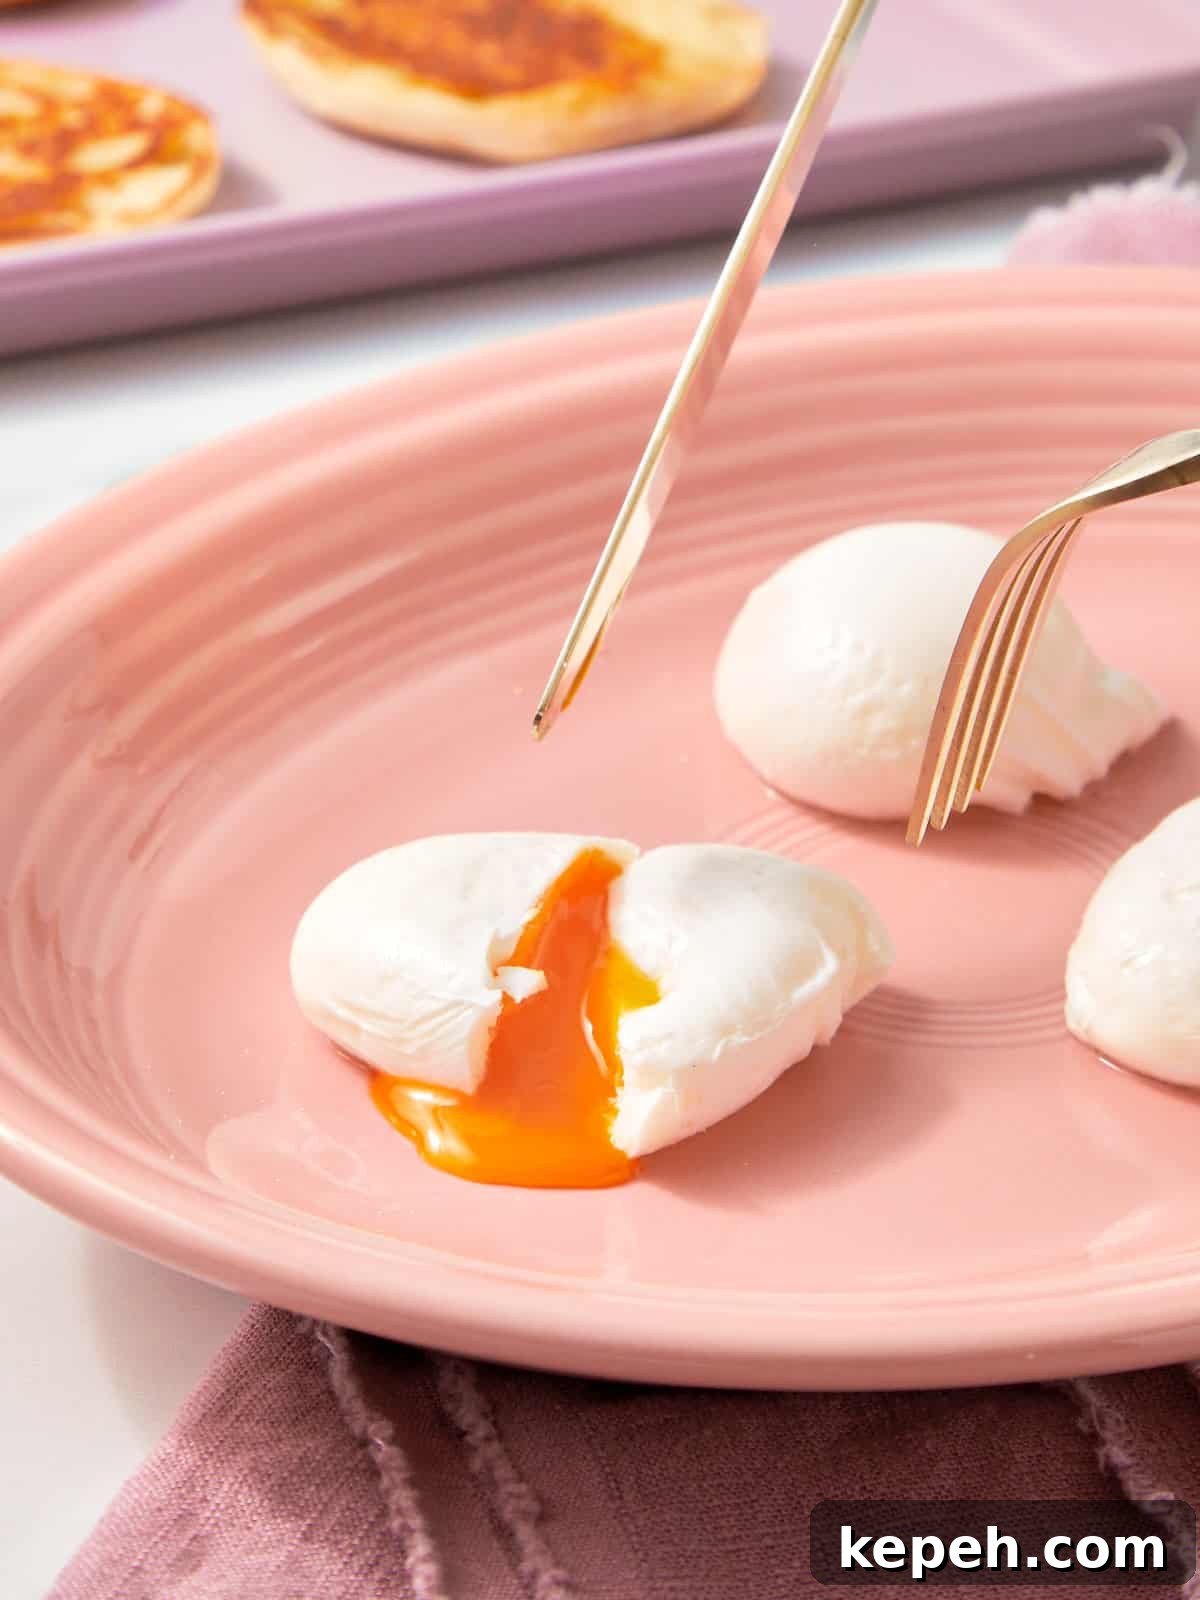
Why These Methods Are Foolproof
Both approaches work because they eliminate the most common causes of failure when poaching eggs.
Temperature control:
Poached eggs fail when the water is boiling too hard. Gently simmering water on the stove or a controlled environment in the air fryer keeps the whites from breaking apart.
Timing:
Rather than guessing, both methods use clear cooking times. Once you know the right timing, the result becomes consistent.
Less movement:
Stirring or moving the egg too much causes wispy whites. These techniques keep the egg largely undisturbed so it can set neatly.
Simplicity:
No fancy tools needed—just a straightforward approach that focuses on what matters most.
If you’ve struggled with poached eggs, it’s usually the method, not the egg. Choose one of these techniques and the process becomes predictable and stress-free.
Stove Top vs Air Fryer Poached Eggs
There’s more than one way to poach an egg, and both of these methods deliver excellent results. Which you choose depends on how involved you want to be.
Stove Top Poached Eggs
This is the classic method most people picture first.
I prefer it when I’m already working on the stove or cooking for more than one person. It offers direct control over the water and the egg, and with a little practice it’s very reliable.
Cooking time:
- About 3–4 minutes for a runny yolk
- Up to 5 minutes for a firmer center
If you enjoy being hands-on, this is usually the best choice.
Air Fryer Poached Eggs
This method surprised me the first time I tried it. If you don’t want to hover over a pot, air fryer poached eggs are a great alternative—set it and walk away.
Cooking time:
- About 6 minutes at 190°C for a runny yolk
- Increase the time slightly if you prefer a firmer yolk
Perfect for busy mornings or when you want a hands-off approach. In under 10 minutes they’re ready on toast or plated as you like.
Which Method Is Better?
There’s no single right answer. If you value control and tradition, use the stove top method. If ease and consistency are your priority, the air fryer is a great option. Both produce excellent poached eggs once you follow the timing.
Just Two Ingredients
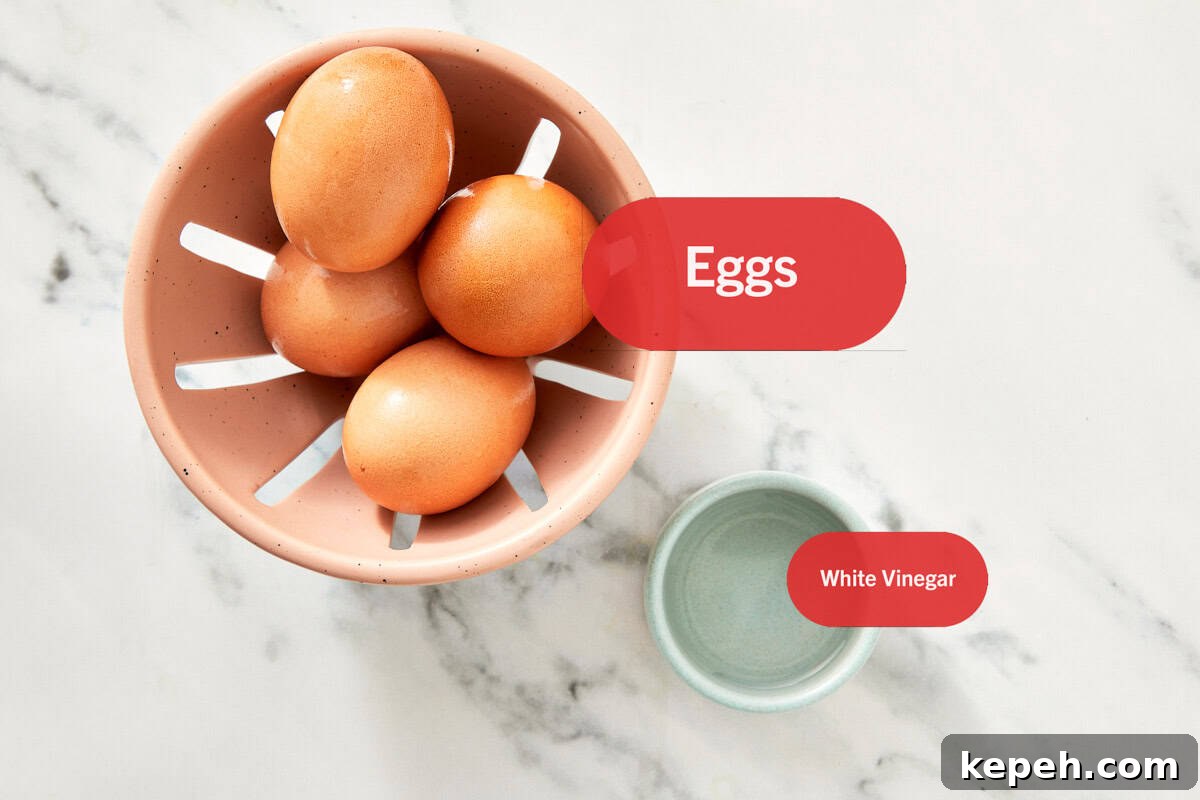
This recipe keeps ingredients simple because technique matters more than complexity when poaching eggs.
- Eggs: Use the freshest eggs you can find. Fresh whites are firmer and hold their shape better, making poaching easier and more consistent.
- White vinegar: A small amount helps the whites set more quickly when they hit the water, reducing wispy bits. You won’t taste it, but it improves the finished appearance.
For the Air Fryer Method
- Lightly spray a ramekin or heat-safe dish with non-stick cooking spray to prevent sticking and make release and cleanup easier.
Note: See the Recipe section for ingredient amounts and complete instructions.
How To Poach An Egg
Poaching sounds simple, but the first attempts can be frustrating. Here are the cleaned-up, step-by-step stove top instructions that consistently work.
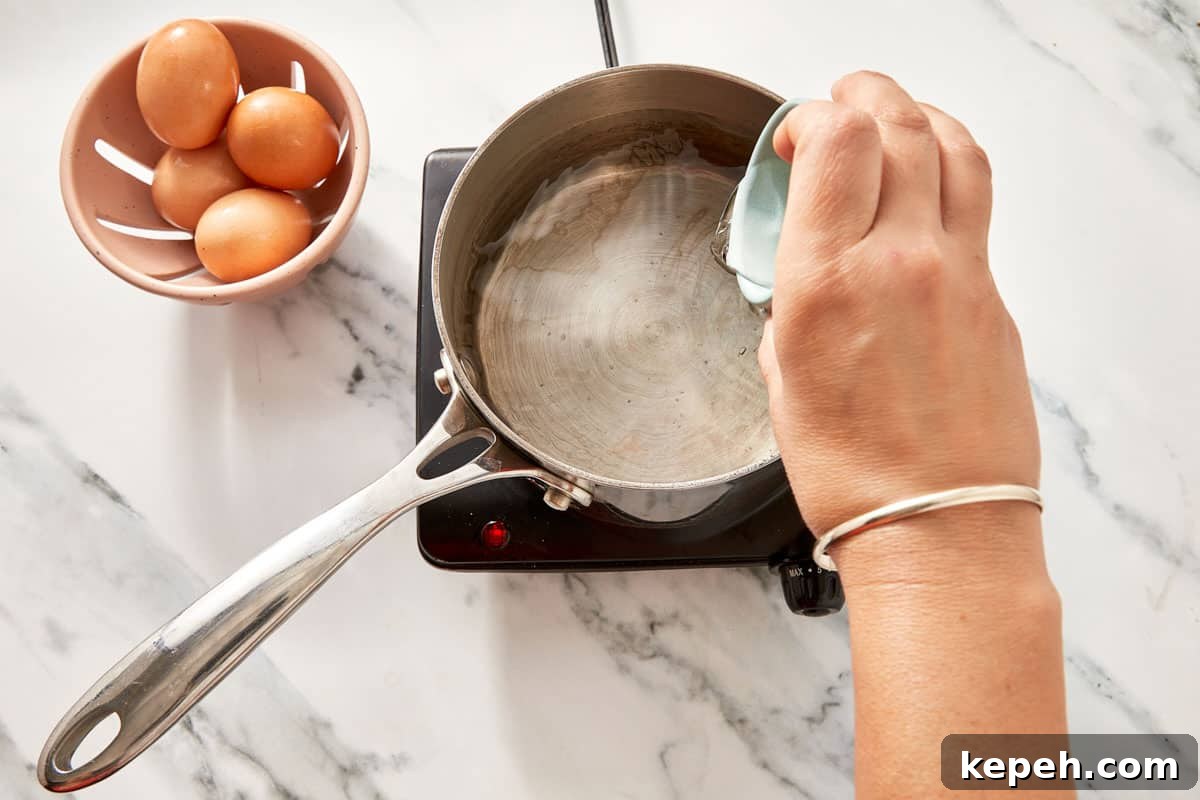
- Simmer & swirl. Fill a saucepan with at least 4 inches of water, add a splash of vinegar, and bring to a gentle simmer. Stir to create a soft whirlpool.
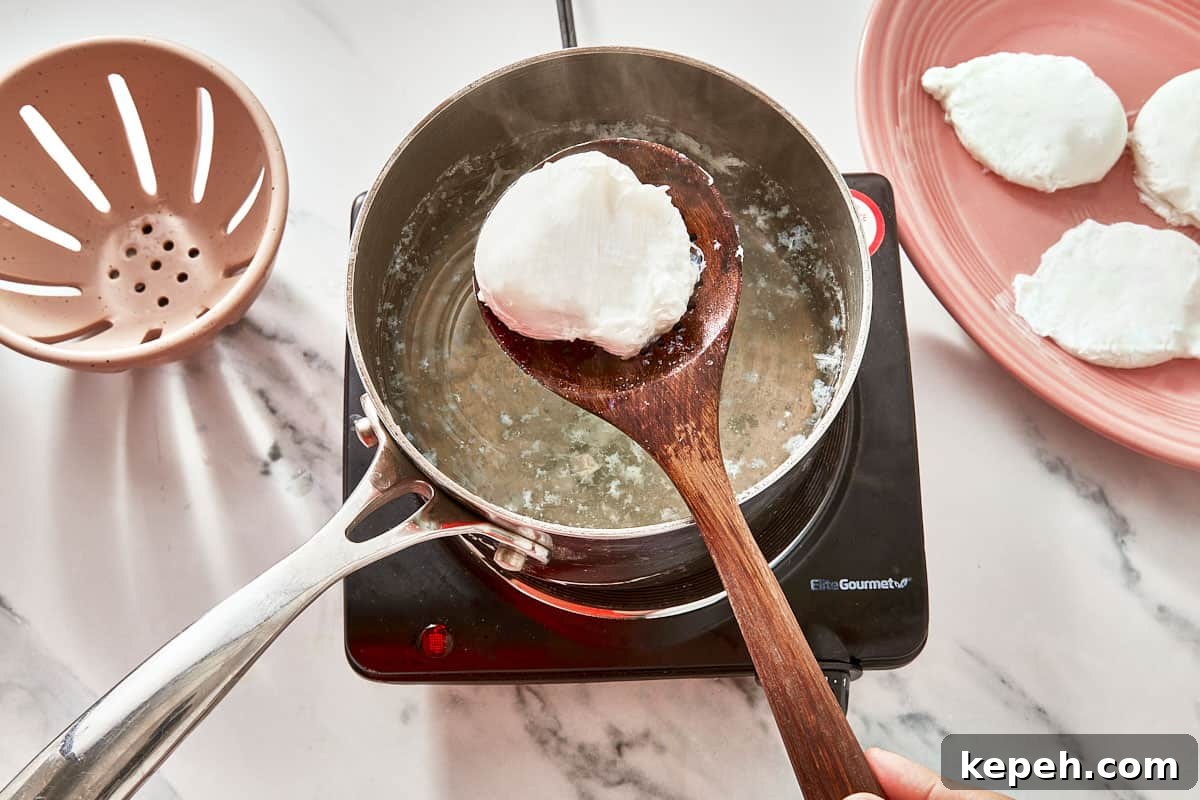
- Drop & lift. Crack the egg into a small bowl, slide it into the center of the whirlpool, and cook for about 3 minutes for a runny yolk. Lift it out gently with a slotted spoon and drain.
Air Fryer Method
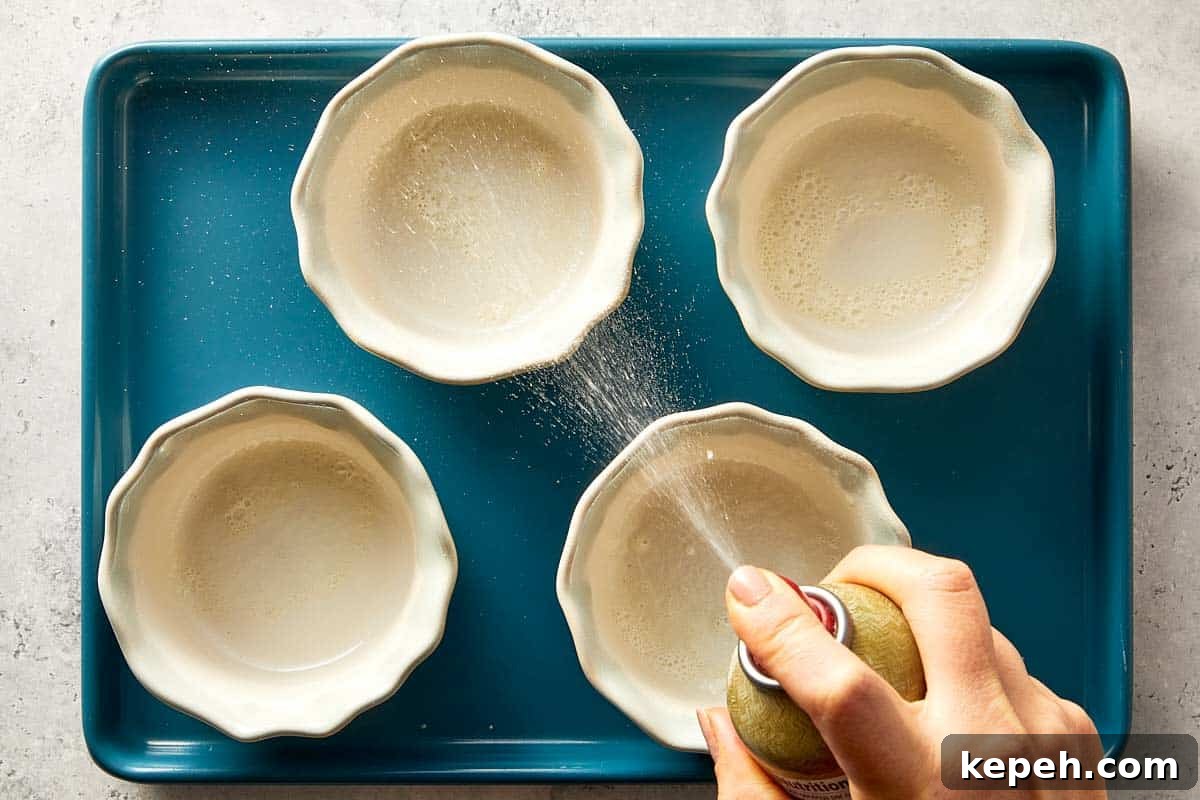
- Lightly grease a small ramekin or heat-safe dish with non-stick cooking spray.
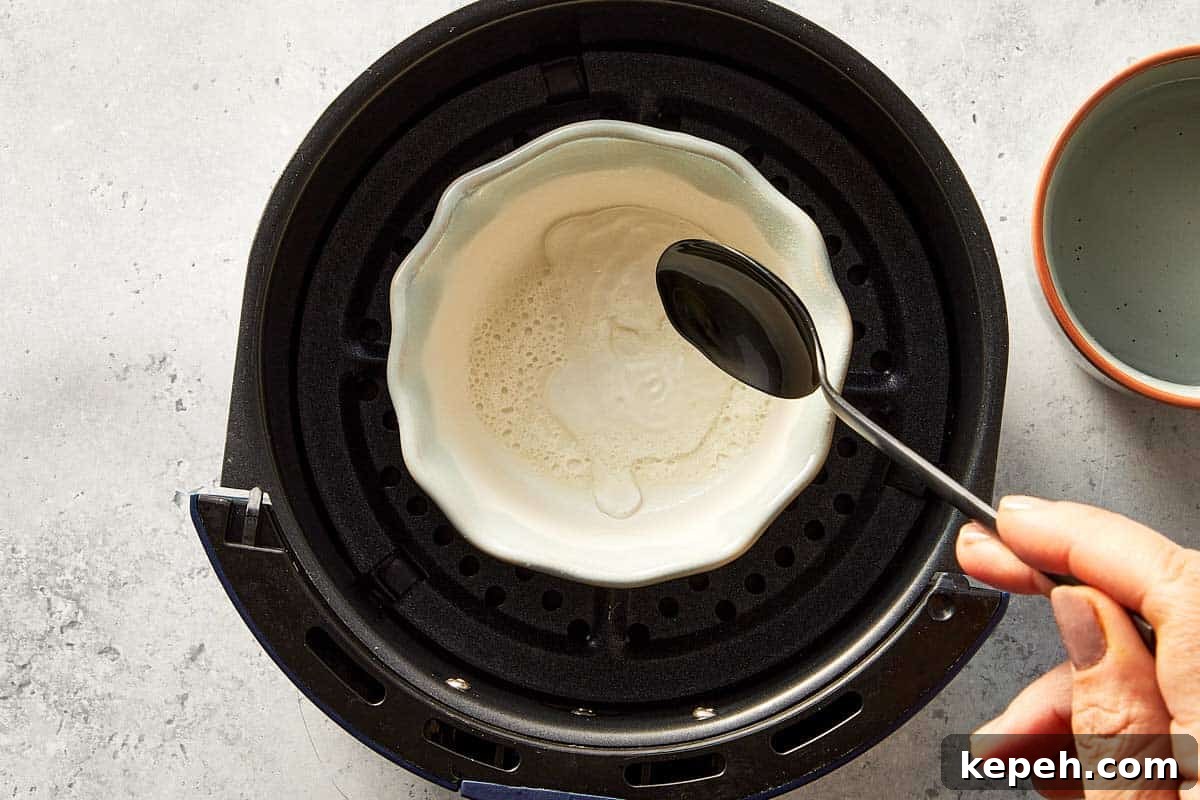
- Add 2 tablespoons of water to each cup.
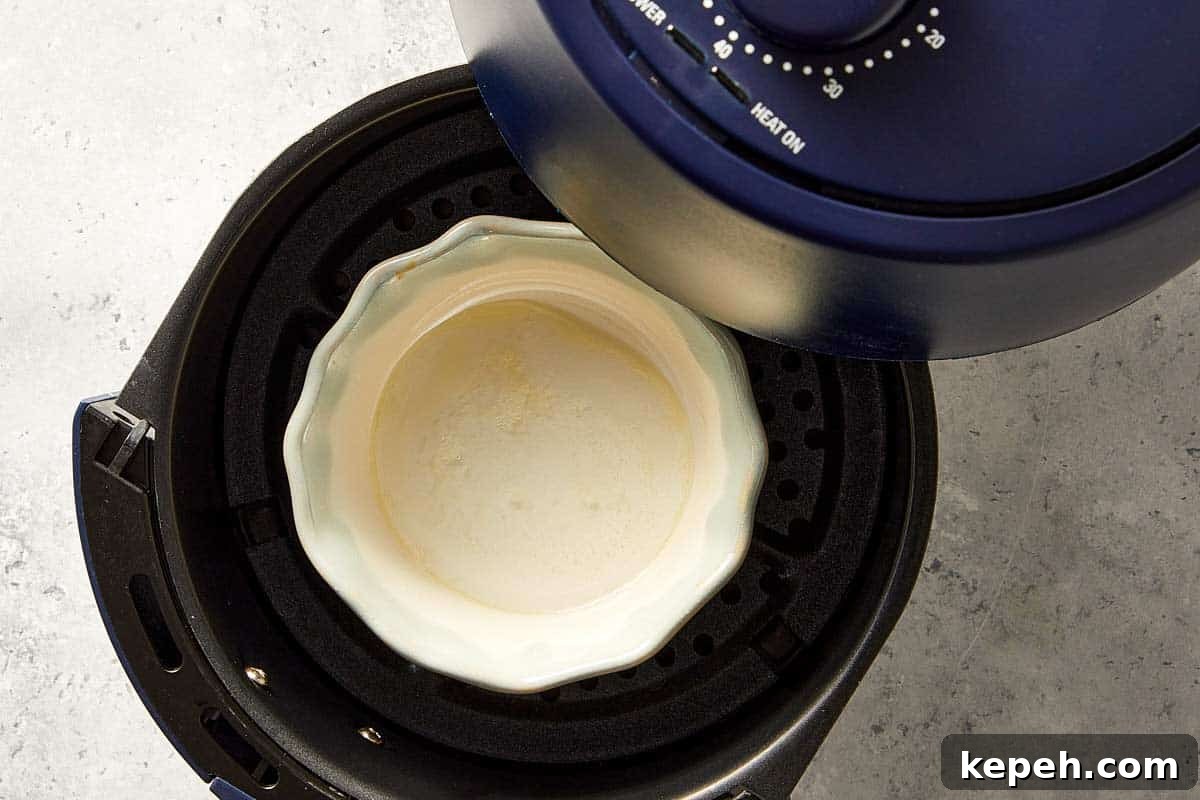
- Preheat the air fryer (with the cups of water inside) to 400°F / 200°C for 5 minutes.
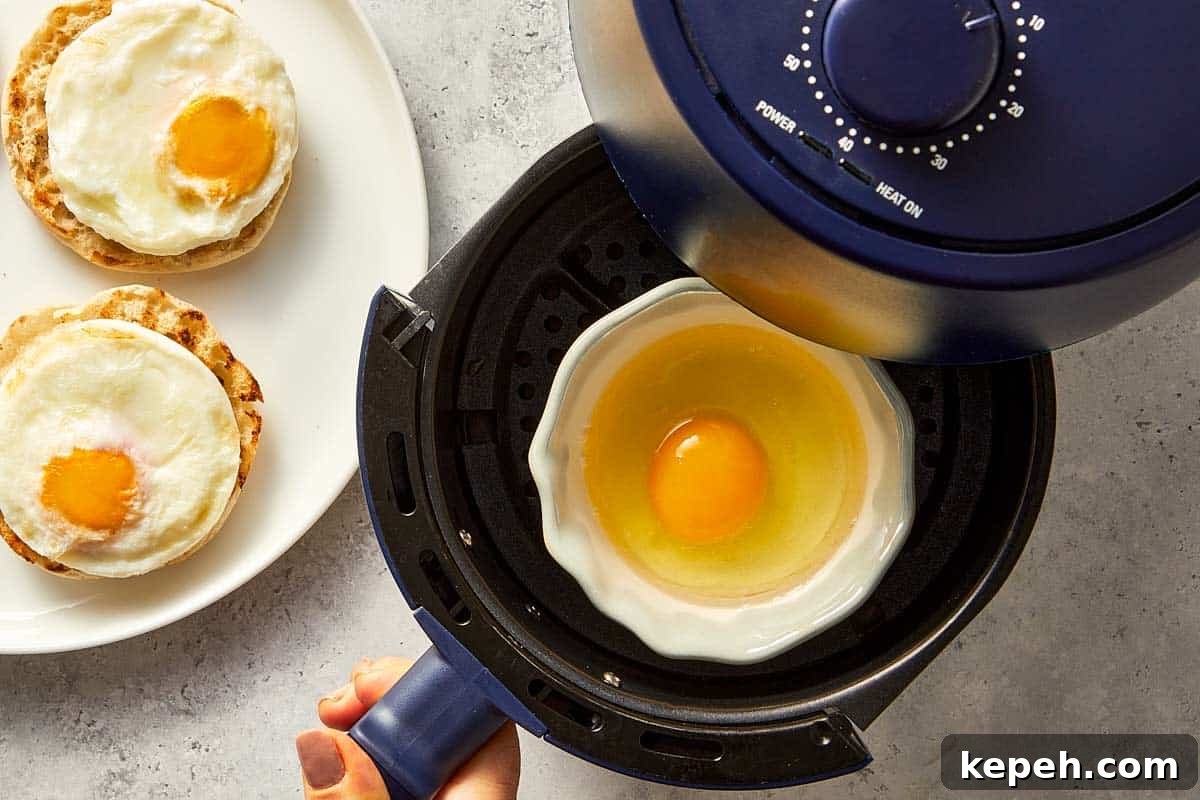
- Carefully open the air fryer so the water doesn’t spill. Crack one egg into each cup; the white may begin to cook from the hot water.
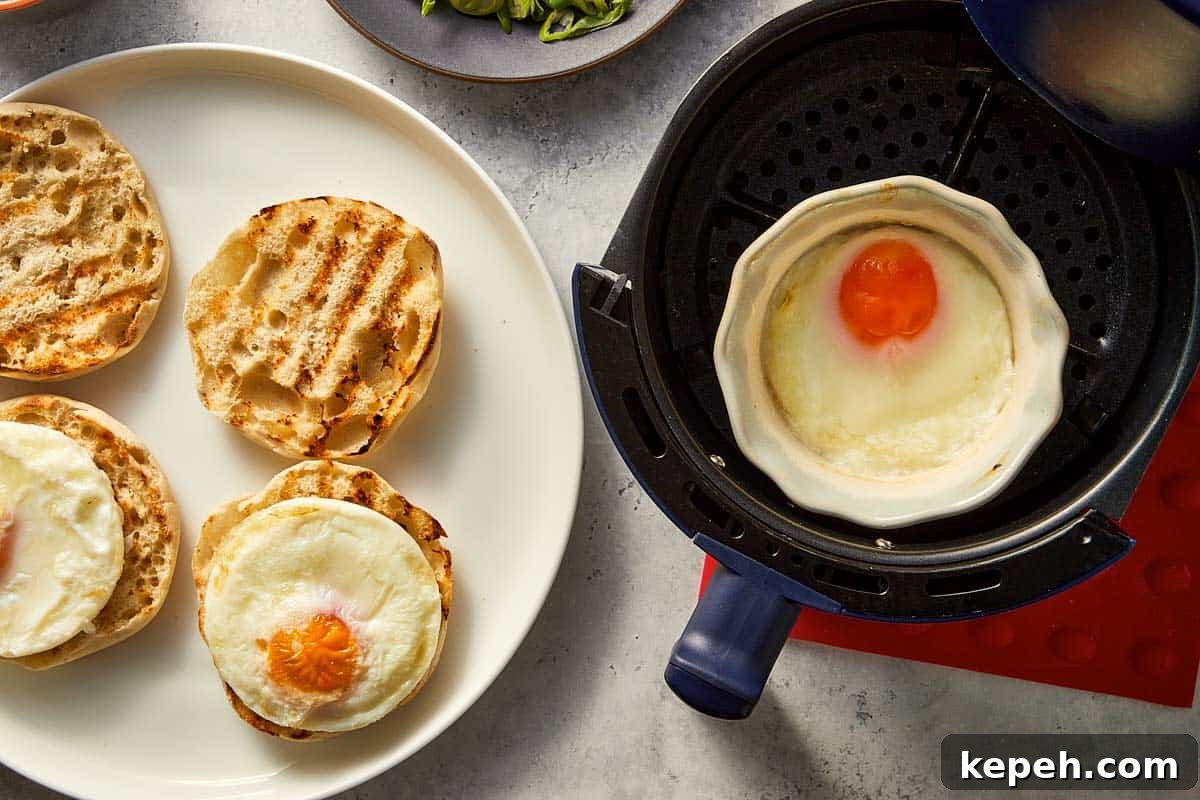
- Cook at 360°F / 190°C for about 6 minutes 30 seconds for set whites and a soft, runny yolk.
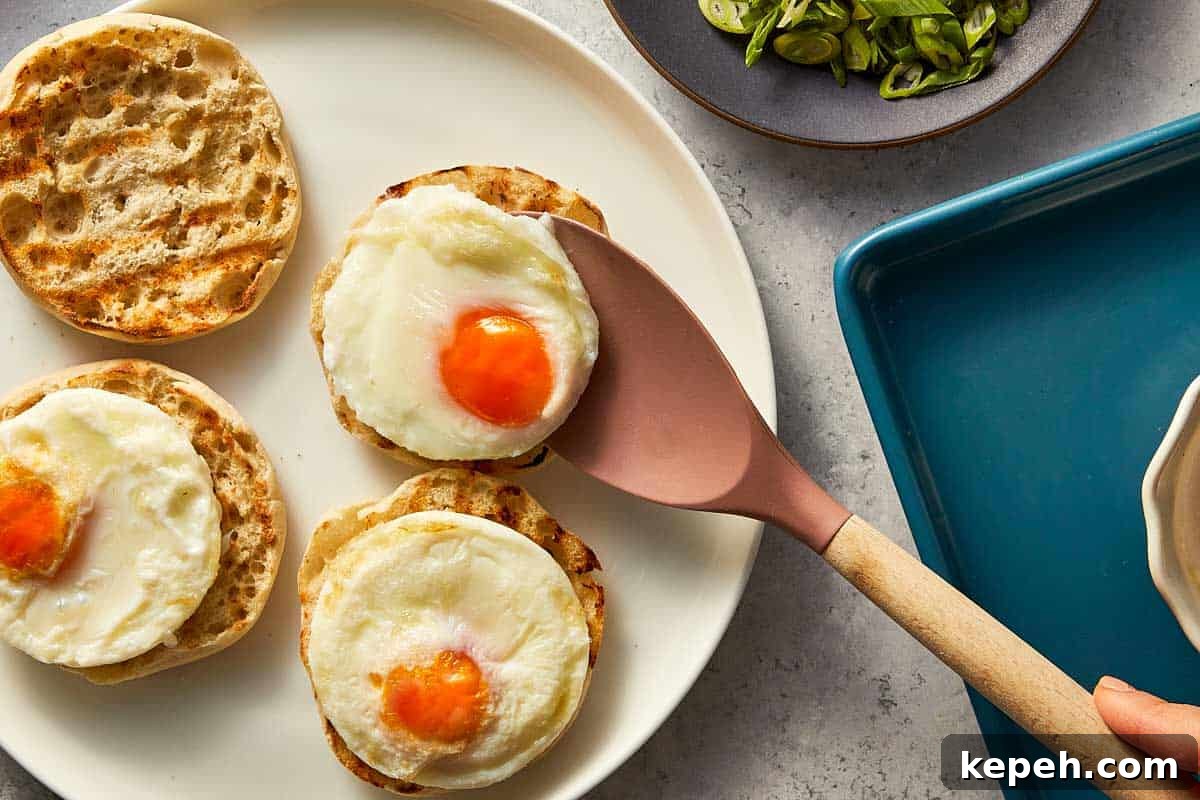
- Use a spoon to lift the egg gently from the cup onto a plate or piece of toast.
This timing yields set whites and a runny yolk. If you prefer the yolk firmer, add 30–60 seconds.
Common Mistakes When Poaching Eggs
Most problems come down to a few easy-to-fix details. Correct these and poaching becomes straightforward.
Using boiling water
Boiling water is too aggressive and tears the whites. Use a gentle simmer instead.
Using older eggs
Older eggs have thinner whites that spread out. Fresh eggs hold together better and give cleaner results.
Skipping the vinegar
Vinegar helps the whites set faster; without it, the whites often separate and float away.
Moving the egg too much
Stirring or touching the egg while it cooks breaks the structure. Once it’s in the water, leave it alone.
Cooking too long
Poached eggs cook fast. Overcooking results in firm yolks and rubbery whites—timing is key.
Not draining before serving
Excess water can dilute sauces or make toast soggy. Let the egg drain briefly before plating.
Once you master poaching, you can use poached eggs in so many dishes.
Start with Eggs Benedict—runny yolk and hollandaise is a classic combination. Poached eggs also work beautifully on avocado toast, salads or crostini, where the yolk becomes part of the dressing.
When you get comfortable with this technique, you’ll find yourself adding poached eggs to more meals.
FAQs
That’s usually because the eggs aren’t fresh. Use the freshest eggs possible. Adding a splash of vinegar helps the whites set faster and reduces wisps.
For a runny yolk, 3 minutes is the sweet spot. The white should feel set, while the yolk remains soft when gently prodded.
Yes. Avoid overcrowding the pan—poach two or three at once so they have space and won’t stick together.
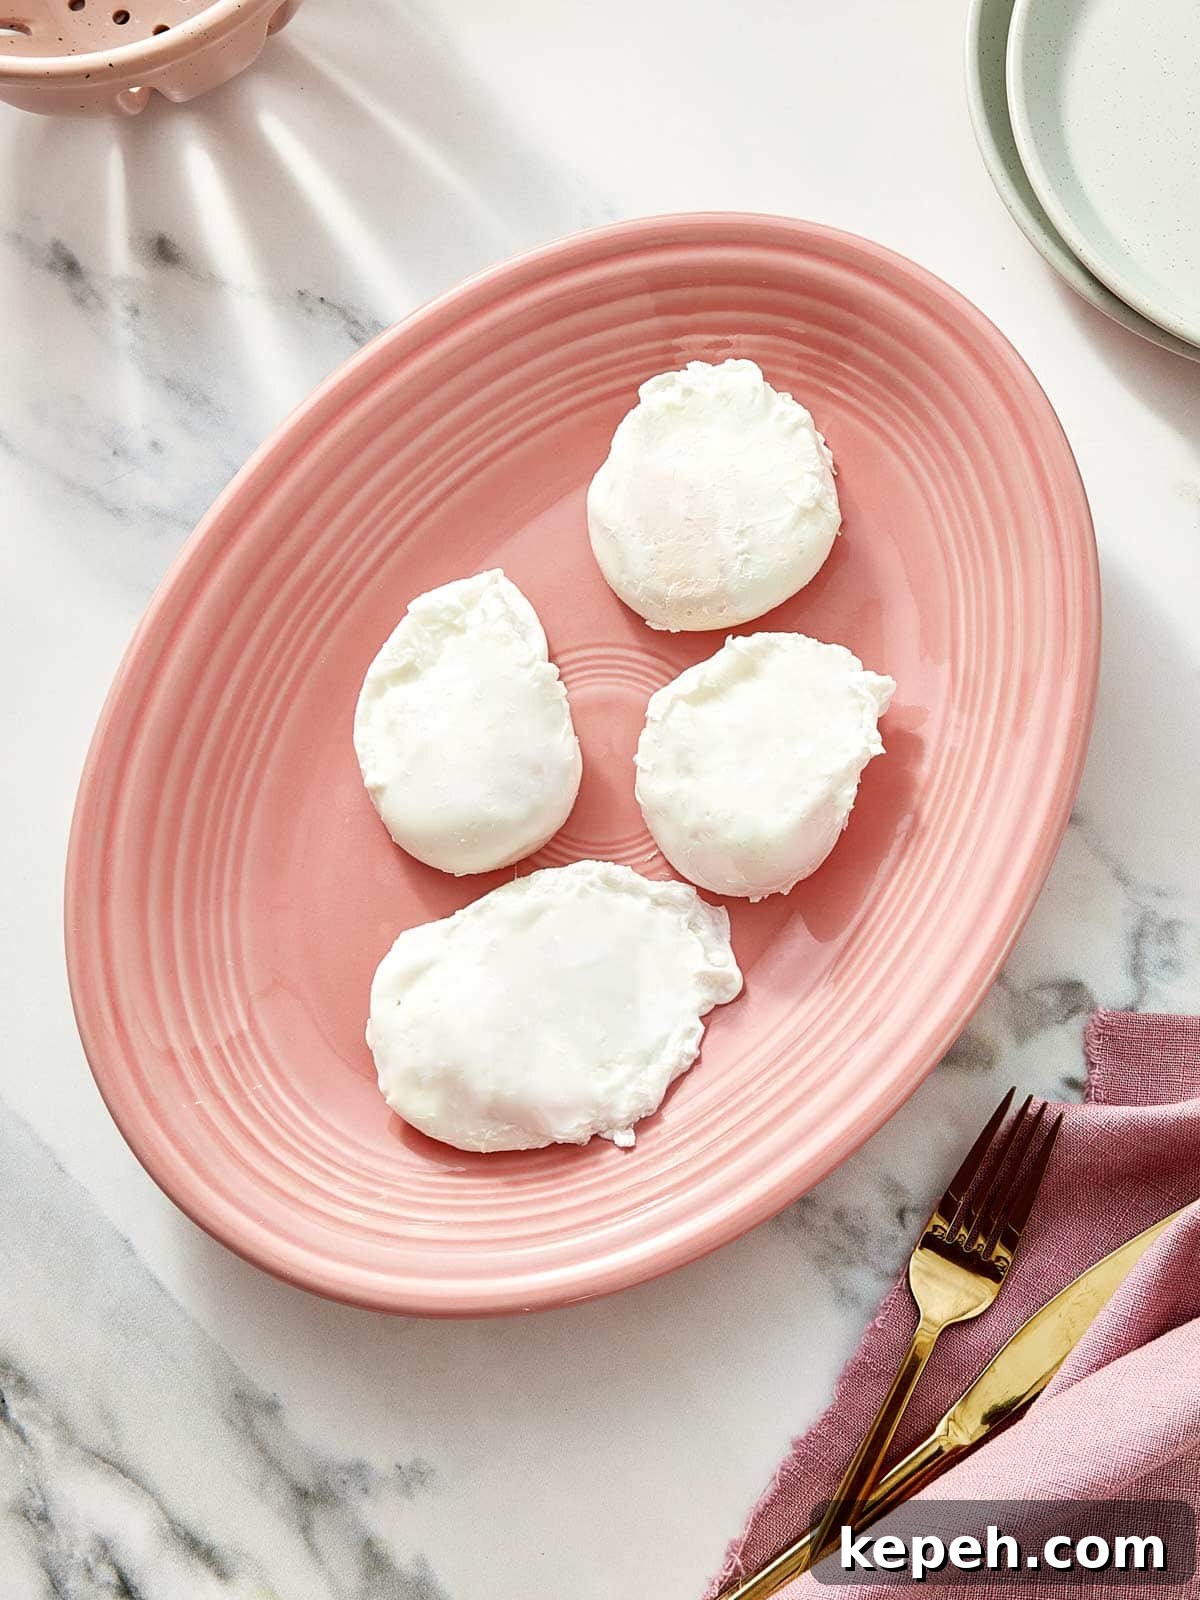
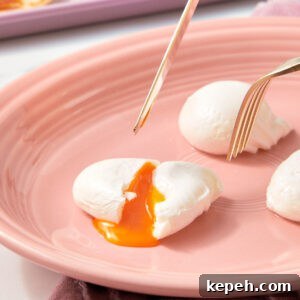
Perfect Poached Eggs Recipe
Ingredients
- 4 large eggs
Stove Top Method
- 2 tbsp white vinegar
Air Fryer Method:
- non-stick baking spray
Instructions
-
Fill a saucepan with at least 4 inches of water. Add the white vinegar and bring to a gentle simmer over medium heat.
-
Stir the water to create a gentle whirlpool.
-
Crack an egg into a small bowl, then gently slide it into the center of the whirlpool.
-
Cook for 3 minutes for a runny yolk, then lift the egg with a slotted spoon and drain any excess water.
-
Repeat with the remaining eggs.
Air Fryer Method:
-
Lightly grease a small ramekin or heat-safe dish with non-stick spray.
-
Add 2 tablespoons of water to each cup.
-
Preheat the air fryer with the cups inside to 400°F / 200°C for 5 minutes.
-
Carefully open the air fryer to avoid spilling, then crack one egg into each cup.
-
Cook at 360°F / 190°C for about 6 minutes 30 seconds. Use a spoon to lift the egg out onto a plate or toast.
Notes
- Freshness is everything: The freshest eggs have firmer whites that hold their shape and reduce wispy bits.
- The sieve trick: Crack an egg into a fine-mesh sieve before placing it in the ramekin to drain the thin, watery part of the white. This yields a neater, restaurant-quality shape.
- Gentle simmer, not a rolling boil: Look for small, champagne-like bubbles on the bottom of the pot. A rolling boil will tear the whites apart.
- Poach ahead for a crowd: Poach eggs, cool them in an ice bath to stop cooking, and store in the fridge in cold water for up to 24 hours. Reheat in simmering water for 30–60 seconds to serve.
Nutrition
Nutrition information is an approximation.